We already set up Liferay-Tomcat runtime server in our eclipse. But what if we want Jboss server? Currently JBoss local server adapters for Liferay servers are not supported in Eclipse IDE (http://issues.liferay.com/browse/IDE-519). The work around is to setup Jboss 7 in our Eclipse. Here are the steps:
- In Eclipse IDE, go to Help > Eclipse Marketplace.
- On the Eclipse Marketplace window search for Jboss Tools for Indigo

- Click Install.
- Confirm the features to be included by clicking Next.
- Accept the license agreement and click Finish.
- After plugins download and install, accept that the content is unsigned by clicking OK

- We need to restart Eclipse for installation to take effect. Click Restart now.
- Jboss tools are now installed in our Eclipse IDE.
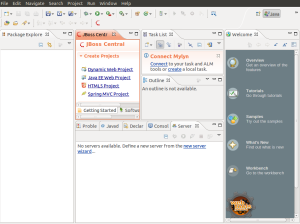
- Go to Windows then Select Preferences.
- On the Preferences window. Go to Server > Runtime Environment. Then click Add button.
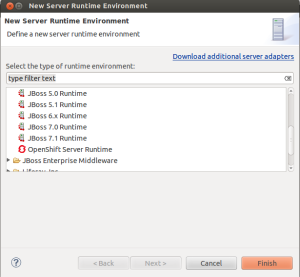
- On the New Server Runtime Environment, go to Jboss Folder and select Jboss 7.1 Runtime and click Next.
- Click Browse and select the jboss-7.1.1 folder on the extracted liferay portal.
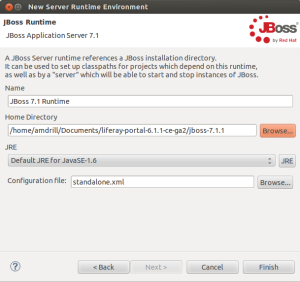
- Click Finish. Jboss 7.1 Runtime is now in the List of our Runtime Environment.
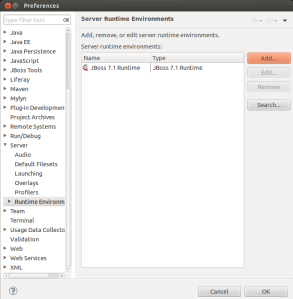
- Click Ok to save the runtime preferences.
- We will now add the Server. On the servers tab, right click and select New.
- Under the Jboss Community select JBoss AS 7.1. Click Finish.
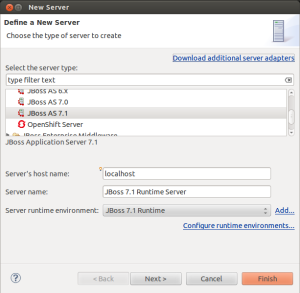
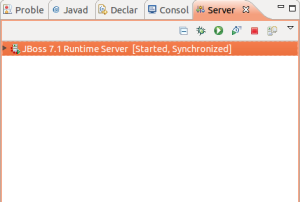
- On the Server tab. Select Jboss 7.1 Runtime Server and click Start.
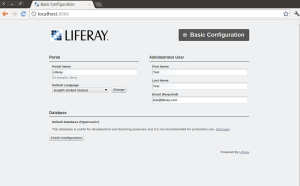
- Open a browser and enter this Url: http://localhost:8080/. Our Liferay Jboss Server is now up and running.
References: http://amdrill.wordpress.com/
Liferay Portal Jboss Runtime Server Setup In Eclipse - Welcome To Vuihi'S Blog >>>>> Download Now
ReplyDelete>>>>> Download Full
Liferay Portal Jboss Runtime Server Setup In Eclipse - Welcome To Vuihi'S Blog >>>>> Download LINK
>>>>> Download Now
Liferay Portal Jboss Runtime Server Setup In Eclipse - Welcome To Vuihi'S Blog >>>>> Download Full
>>>>> Download LINK